| CPC G01B 15/045 (2013.01) [G01N 23/04 (2013.01); G03F 7/70616 (2013.01); H01L 22/12 (2013.01); H01L 22/20 (2013.01); G01B 2210/56 (2013.01); H01L 24/10 (2013.01); H01L 2224/16225 (2013.01)] | 20 Claims |

|
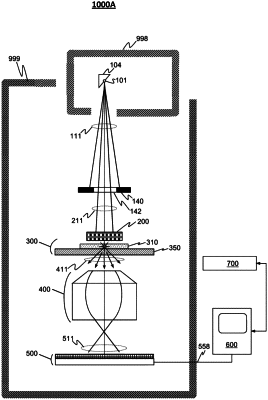
1. A method comprising, by an automated high-speed X-ray inspection system:
generating an X-ray image of an inspected sample at a direction substantially orthogonal to a plane of the inspected sample, wherein the X-ray image is a high-resolution grayscale image;
determining a first cross-sectional shape of a first portion of a first element of interest in the inspected sample, wherein the first cross-sectional shape is determined based on a plurality of grayscale values of the X-ray image associated with the first element of interest;
determining a second cross-sectional shape of a second portion of the first element of interest in the inspected sample, wherein the second cross-sectional shape is determined based on the plurality of grayscale values of the X-ray image associated with the first element of interest; and
determining one or more first metrological parameters associated with the first element of interest in the inspected sample based a comparison of the first cross-sectional shape and the second cross-sectional shape.
|