| CPC G06F 9/45558 (2013.01) [G06F 9/44505 (2013.01); G06F 9/455 (2013.01); G06F 2009/45583 (2013.01); G06F 2009/45591 (2013.01)] | 19 Claims |

|
1. A method of functionally calibrating geometric sensors of a scanner system, wherein the scanner system is configured to obtain geometric profiles of objects moving along a flow path, the method comprising:
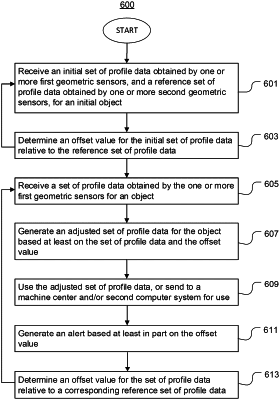
receiving a first set of profile data obtained by one or more first geometric sensors, and a reference set of profile data obtained by one or more second geometric sensors, for a first object, wherein the first set of profile data includes profile data for a first portion of the first object and the reference set of profile data includes profile data for said first portion of the object, such that the sets of profile data include overlapping profile data;
determining, based at least on the overlapping profile data, a first one or more offset values that represents a translational difference of the first set of profile data, or one or more portions thereof, relative to the reference set of profile data;
generating an adjusted set of profile data for the first object by applying one or more first correction values to the first set of profile data to thereby offset a positional error of the one or more first geometric sensors relative to the one or more second geometric sensors, wherein the one or more first correction values represents additional offset values for additional sets of profile data obtained by the first and second geometric sensors;
determining one or more second correction values based on the first one or more offset values and one or more of the additional offset values; and
causing a machine center to reposition or cut the first object based at least in part on the adjusted set of profile data.
|