| CPC F01D 5/18 (2013.01) [F05D 2220/32 (2013.01); F05D 2240/30 (2013.01); F05D 2260/20 (2013.01)] | 10 Claims |

|
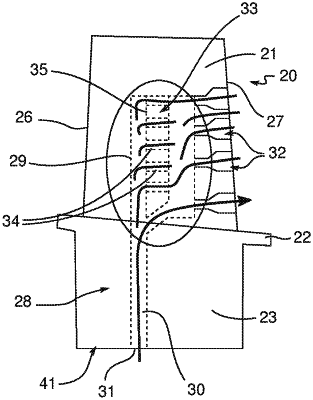
1. A turbine engine vane, comprising:
a blade with a pressure side wall and a suction side wall that are connected upstream by a leading edge and downstream by a trailing edge;
a cooling circuit which comprises an internal cavity extending inside the blade and a plurality of outlet orifices, each oriented along a longitudinal axis X, each outlet orifice communicating with the internal cavity and being arranged in a vicinity of the trailing edge; and
a calibration device disposed within the internal cavity and provided with calibration conduits arranged opposite the plurality of outlet orifices, the calibration conduits each comprising an oblong transverse section perpendicular to the longitudinal axis,
wherein the calibration device comprises a calibration cavity disposed downstream of the calibration conduits, the calibration cavity being in fluid communication with the calibration conduits and the plurality of outlet orifices, each calibration conduit comprising a first rectilinear portion and a second rectilinear portion which are opposite along a predetermined width L passing through a central axis A of each calibration conduit,
wherein each calibration conduit comprises circular arc portions of a first radius R1 which are symmetrical with respect to a first median plane P1 passing through the central axis A and perpendicular to the predetermined width L, and wherein the circular arc portions are symmetrical with respect to a second median plane P2 passing through the central axis and perpendicular to a predetermined height H of each calibration conduit,
wherein first and second ends of each calibration conduit are rounded along a circular arc of a second radius R2, the second radius R2 being less than that of the first radius R1.
|